Monday, 31 July 2017
Saturday, 29 July 2017
Country Style Lounge before and after
The design brief for this country style lounge was to brighten up the space.
The stone fireplace had to stay but was making the room feel dark.
By changing the light fittings from 3 single pendants to three 5 arm chandeliers this made the lighting more of a feature and provided much needed light.
The floorboards were painted white as these were in great condition and it was a shame to hide them under carpeting.
Adding cream sofa covers brightened up the room and then by adding mercury glass accessories and a large mirror (which is out of shot) to reflect light around finished off the look.
Labels:
Accessories,
colour,
country style lounge,
cream,
Deborah Fielding Interior Design,
decor,
Ikea,
interior design,
interior designer,
lounge,
mercury glass,
mirror,
painted floorboards,
sofa,
sofa covers,
white
Thursday, 27 July 2017
How to make odd numbers work
When displaying objects in your home or garden, make them look really effective by using odd numbers.
Sets of 3, 5, 7 .......
Whether this be plants, photo frames, candle sticks, mirrors.
Wednesday, 26 July 2017
Monday, 24 July 2017
Friday, 21 July 2017
How to use your decorating planner
My decorating planner is great for starting any project, a place to keep all samples and information together.
If you have purchased the Decorating Planner from my website, once printed out you can put the pages into either an A4 ring binder with plastic pockets or a document folder, using the pockets to store samples.
You can also print extra pages off if you need more for certain sections.
It can also be printed off every time you start a new project and will become your go to place to store ideas and inspiration for new projects.
Wednesday, 19 July 2017
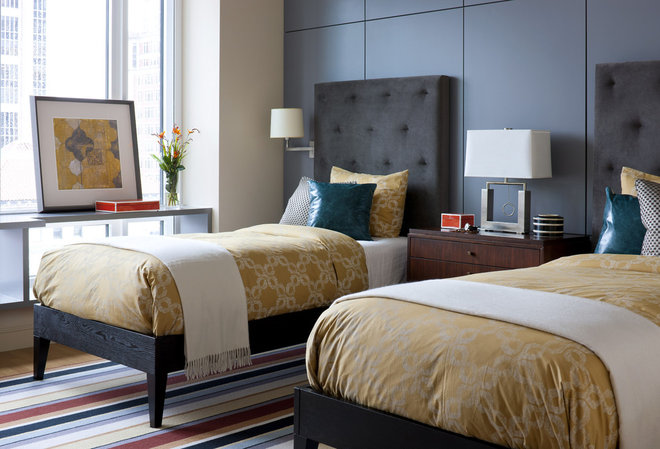
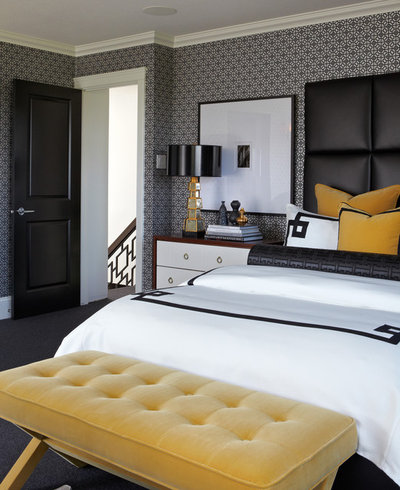
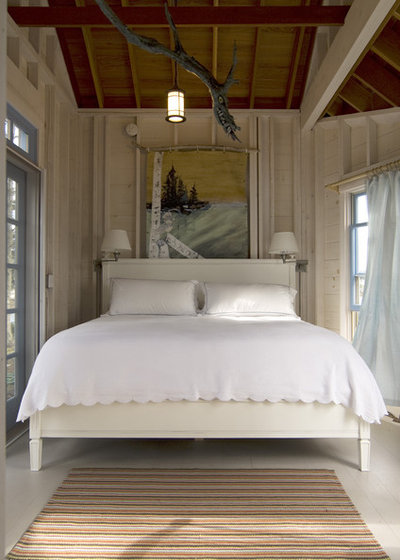
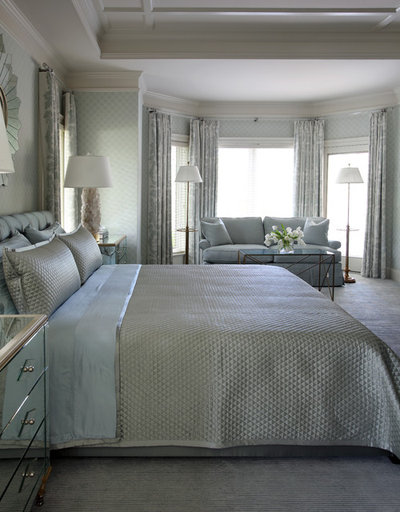
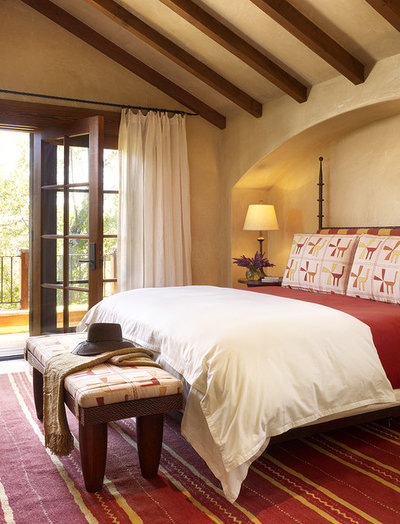
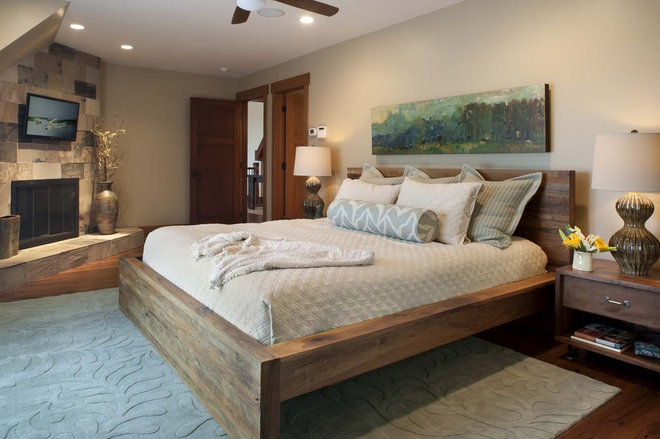
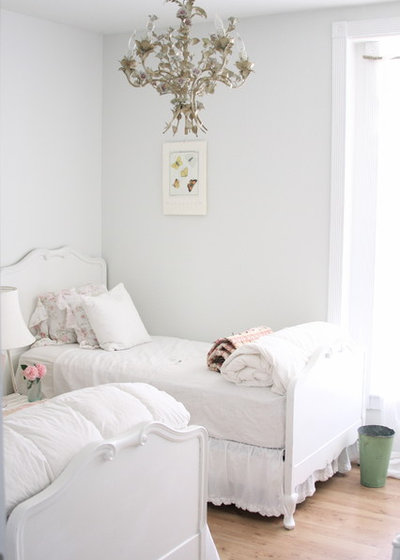
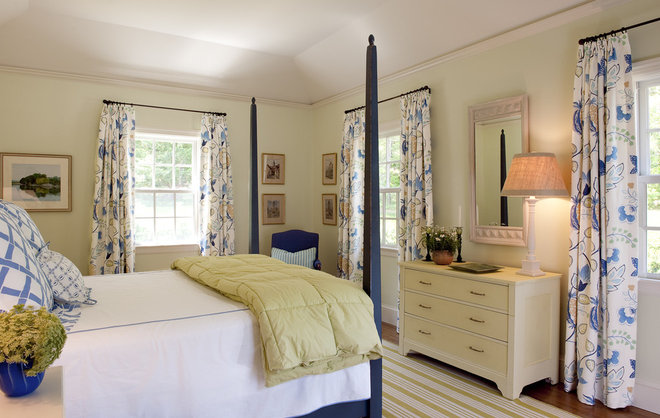
The best colours to wake up to
Classic blue and white makes an appearance in an aqua-loving farmhouse.
In a Florida getaway, walls in Benjamin Moore's Salmon Peach contrast with curtains in a green Norbar Fabrics linen and a Dash & Albert rug. "The palette is based on the apple painting, which I inherited from my mother," says designer Amanda Linderoth
The light-filled master bedroom designed by Anne Maxwell Foster and Suysel dePedro Cunningham is covered in Sandberg's Raphaël wallpaper. A Tilton Fenwick for Target headboard is upholstered in the duo's Jax fabric for Durable.
In this girl's room designed by Matt O'Dorisio, custom rails and stairs make it easy to reach the top of Pottery Barn bunk beds. Linen curtains and pillows are in Tulu's Keban.
In this Ann Pyne-designed New York house, the "eye-popper" bed is a luxurious sea of pink satin — Cowtan & Tout's Salsa silk satin on the canopy sky, the headboard, and the coverlet. The bed curtains, valance, and skirt are in the same fabric as the curtains, Klotz by Country Swedish.
Source: Housebeautiful.com
.
Monday, 17 July 2017
How to make the perfect bed
1. Gather your bed linens. The type and quantity of linens you use depends on the style of both your room and your bed. However, most include the following:
• Mattress pad with elastic edging
• Fitted sheet
• Flat sheet
• Pillowcases
• Blanket (lightweight or heavyweight, depending on your climate and the season)
• Quilt, comforter or duvet
• 2 standard pillow shams
• 2 European pillow shams (optional)
• Accent pillows (optional)
• Throw or coverlet (optional)
• Bed skirt or box-spring cover (optional)
2. Break out the iron. If you're anything like me, you'd rather walk through Death Valley at high noon in a parka than put your iron to its intended use. (Full disclosure: The last time I unearthed mine, it had cobwebs on it.)
But pressed linens are crisp linens, so face your nemesis. A standard ironing board is too small to handle sheets with ease — cover an inexpensive folding table, or even a large sheet of plywood, with heatproof foam or batting to give you more surface area to work with. Don't forget the bed skirt and shams while you're at it.
But pressed linens are crisp linens, so face your nemesis. A standard ironing board is too small to handle sheets with ease — cover an inexpensive folding table, or even a large sheet of plywood, with heatproof foam or batting to give you more surface area to work with. Don't forget the bed skirt and shams while you're at it.
3. Center and straighten the bedskirt. If your bed style doesn’t require a skirt, you can skip this step, though you may want to invest in a box-spring cover if your box spring is exposed.
If you’re using a bed skirt, center it in place, making sure the edges are even at the foot and sides. Use unobtrusive pins to anchor it in place.
If you’re using a bed skirt, center it in place, making sure the edges are even at the foot and sides. Use unobtrusive pins to anchor it in place.
4. Pull the mattress pad smooth.Nothing ruins bedtime comfort faster than a lumpy bottom layer, and pads are notorious for bunching in the center of the bed.
Elastic edges help, but for extra insurance, hold them in place with safety pins around the bottom edges. Or use corner fasteners, found at major bed and bath retailers.
Elastic edges help, but for extra insurance, hold them in place with safety pins around the bottom edges. Or use corner fasteners, found at major bed and bath retailers.
5. Tuck the fitted sheet tightly. For optimal fit, use an extra-deep sheet if you have a pillow-top or an especially tall mattress; otherwise a standard size should work fine. Pull it taut and tuck the edges beneath the mattress.
As with the mattress pad, corner fasteners can keep the sheet from creeping inward.
As with the mattress pad, corner fasteners can keep the sheet from creeping inward.
6. Drape the flat sheet. Now the tricky part begins. Center the flat sheet on the bed, with equal overhang on either side. Align the top edge with the top edge of the mattress.
7. Add the blanket. If your blanket is slightly shorter than the sheet, pull it down from the top of the mattress rather than up from the bottom. You want the bottom and side edges to be as even with the sheet as possible.
8. Tuck in the flat sheet and the blanket together. Make your best attempt at hospital corners at the bottom. Hold the long edges of the sheet and blanket away from the bed and pull them atop the mattress to form a 45-degree angle at the corner. Lift the foot of the mattress slightly and use your hand to slide the draping bottom edges of the bed linens beneath it. Be sure to smooth them out as much as possible to avoid the "princess and the pea" effect.
Now tuck in the side edges so that they form a crisp crease. Can't get the corners just right? Don't lose sleep (ha ha) over them; simply do the best you can.
Now tuck in the side edges so that they form a crisp crease. Can't get the corners just right? Don't lose sleep (ha ha) over them; simply do the best you can.
9. Turn down the sheet and the blanket tops. Fold the flat sheet and the blanket down about 12 to 18 inches (roughly the width of a pillow). Then tuck the long edges under the mattress along the sides.
10. Add your desired topper.Whether you go with a cozy quilt, a puffy comforter or a downy duvet, spread it over the bed and center it so that it hangs evenly. Leave the folded-down sheet and blanket exposed at the top, but be sure to cover their bottom edges.
11. Layer the pillows. Start with the pillows you’ll sleep on — slip them into their cases, tag ends first, and align the pillowcase seams with their edges. Plump them up and prop them against the headboard or wall. If you’re using European shams, which are usually between 26 and 32 inches square, add those next. Then come standard-size shams, and finally, throw and bolster pillows (three are usually plenty).
12. Top it off with a coverlet or throw. Fold the coverlet so that it's about 18 to 24 inches across, and place it graphically at the foot of the bed. Or consider rolling it for a fresher twist.
13. Bounce a quarter. Can't do it? Start over. Just kidding ... after all your work, you've earned the right to a little nap in your luxuriously outfitted nest. Sweet dreams!
Source: Lisa Frederick
Saturday, 15 July 2017
Find another use .......
Cake stands are brilliant for other uses.
You can use them for storage, fill with perfumes, make up, jewellery, craft supplies, washing equipment, the list is endless!
Thursday, 13 July 2017
Choose the right appliances for your kitchen
Choose the right appliances and make life easy
Kitchens are so much more than just a place to cook. They’re where we spend time together, catching up, eating and unwinding.
So when you’re creating a new look you’ll want your kitchen to be stylish as well as practical. The appliances you pick can make a huge difference to its family-friendly appeal, so here are seven key considerations when it comes to choosing appliances.
1. Choose the perfect oven
Family cooking means you’ll want large, hard-working fan oven.
If you really hate cleaning (join the club) you’ll love the incredible Pyrolytic technology of Beko’s self-cleaning ovens. These heat the oven to an intense 480°, turning all grease and spilt food to ash, so all you need to do is simply wipe it away.
2. Save time every day
Family life is hectic and no one has time to waste, so your appliances should work quickly and efficiently to speed things up.
Need clean school uniforms in a hurry? Beko washing machines can get through up to 12kg in just 28 minutes, and the high-speed spin option also helps deliver quicker drying times. A washer-dryer like the Beko WDIY854310 can wash and dry up to five shirts in an hour.
For quick suppers, an induction hob is a rapid, energy-efficient way to cook as it focuses heat only on the base of the pan. And the sleek design makes it a cinch to keep clean.
Want a speedy dishwasher? Look out for the handy quick programmes on Beko’s super-quiet dishwashers, which can clean a full load in 30 minutes, or use the Fast+ function to shorten cycle lengths by up to 70%.
3. Enjoy chilled water on tap
Kids often get dehydrated and forget to drink enough water – or fill up with too many fizzy drinks. Solve the problem straight away by choosing a fridge-freezer with a plumbed-in cold water and ice dispenser. Everyone will be able to enjoy chilled drinks at the touch of a button and it makes summer entertaining a doddle too.
Choose an American-style Beko frost-free fridge-freezer and the bonus is you’ll never have the bother of defrosting again, as it prevents ice build-up for good.
4. Choose flexible appliances
Family life means plenty of multi-tasking, so make sure your appliances are flexible enough to handle the pressure.
Need to cook two meals at once? Beko’s brilliant Split&Cook ovens allow you to cook different foods at different temperatures at the same time, with no transfer of flavours. Cue fish pie and cupcakes cooking together…
Find you need extra freezer space? Beko’s multi zone fridge freezers have a section that can switch between fridge or freezer – genius!
5 Get the better of allergies
With so many people, especially children, affected by allergies like asthma and eczema, it’s important to keep your home environment clear of known triggers like damp, dust mites and pet hair.
Dogs and cats can shed quantities of hair, but selected Beko washing machines have a special pet hair reduction function which adds a pre-wash and extra rinsing step to the cycle.
A top tip is to tumble-dry your towels and bedding instead of drying outdoors, as this prevents them picking up a host of pollens. Even air-drying indoors increases the moisture levels which could potentially trigger an asthma attack. For big family loads, a Beko tumble drier can dry up to 9kg in one go.
A Beko self-cleaning oven will reduce the need for harsh chemicals in the kitchen, while a cooker hood removes excess steam and cooking vapours from the atmosphere, which may be potentially harmful as triggers for anyone in the family suffering from asthma.
6. Save space
A Beko self-cleaning oven will reduce the need for harsh chemicals in the kitchen, while a cooker hood removes excess steam and cooking vapours from the atmosphere, which may be potentially harmful as triggers for anyone in the family suffering from asthma.
6. Save space
Space is at a premium in most homes, so streamlining is vital. A dishwasher is essential for busy families, and there’s no need to miss out because your kitchen is too small when a slimline versionmeasures only 45cm across.
Another space-saving solution is to invest in a washer-dryer rather than two separate machines, and Beko models can handle hefty washloads of up to 8kg. Choose from freestanding or integrated versions.
7. Be energy efficient
Keep bills down, and be environmentally friendly with appliances like a Beko induction hob (above). This rapidly heats only the surface of the pan, rather than wasting heat elsewhere. Or choose an energy efficient tumble dryer with heat pump technology that uses lower temperatures to dry the load.
Source: Jane Kemp
Ideal Home newsletter
Sign up to our newsletter for style and decor inspiration, house tours, project advice and more
Subscribe to:
Comments (Atom)


